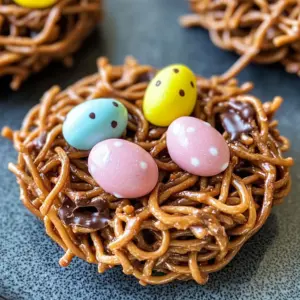
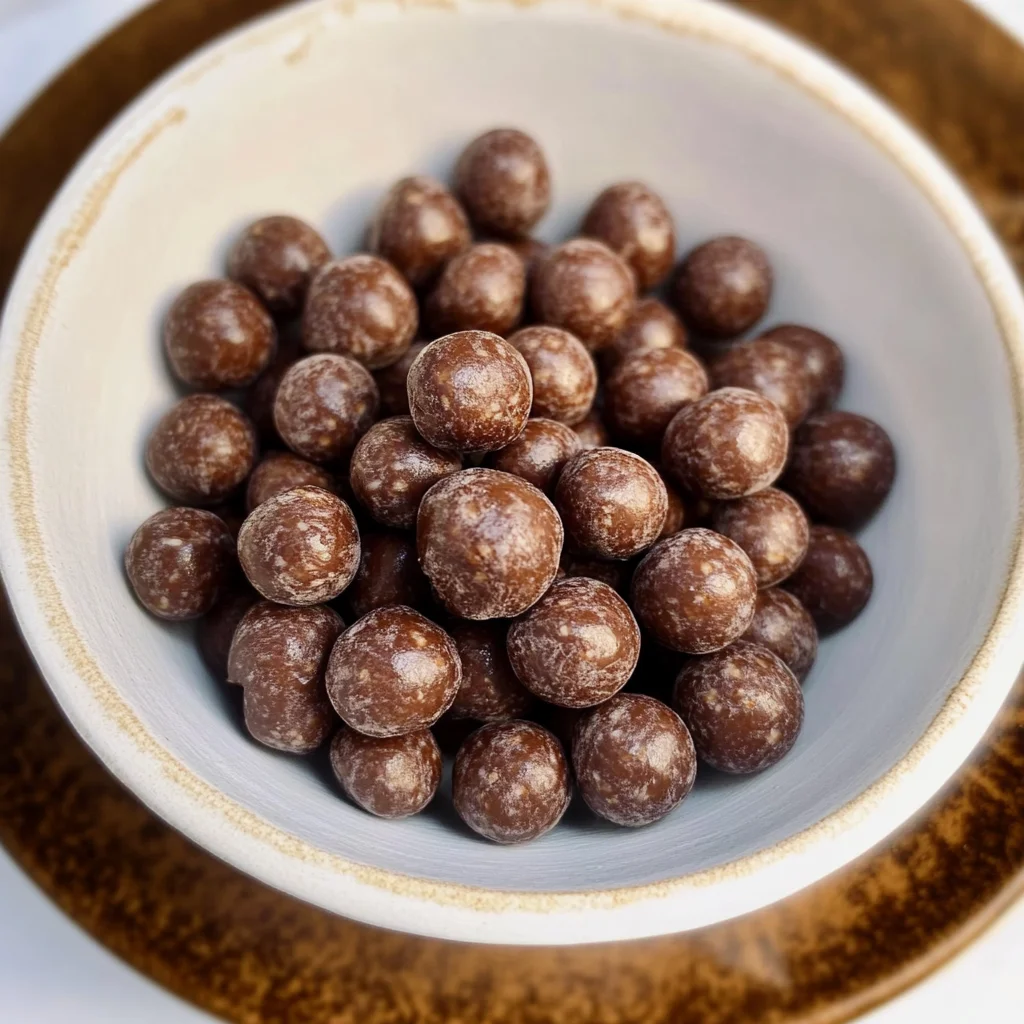
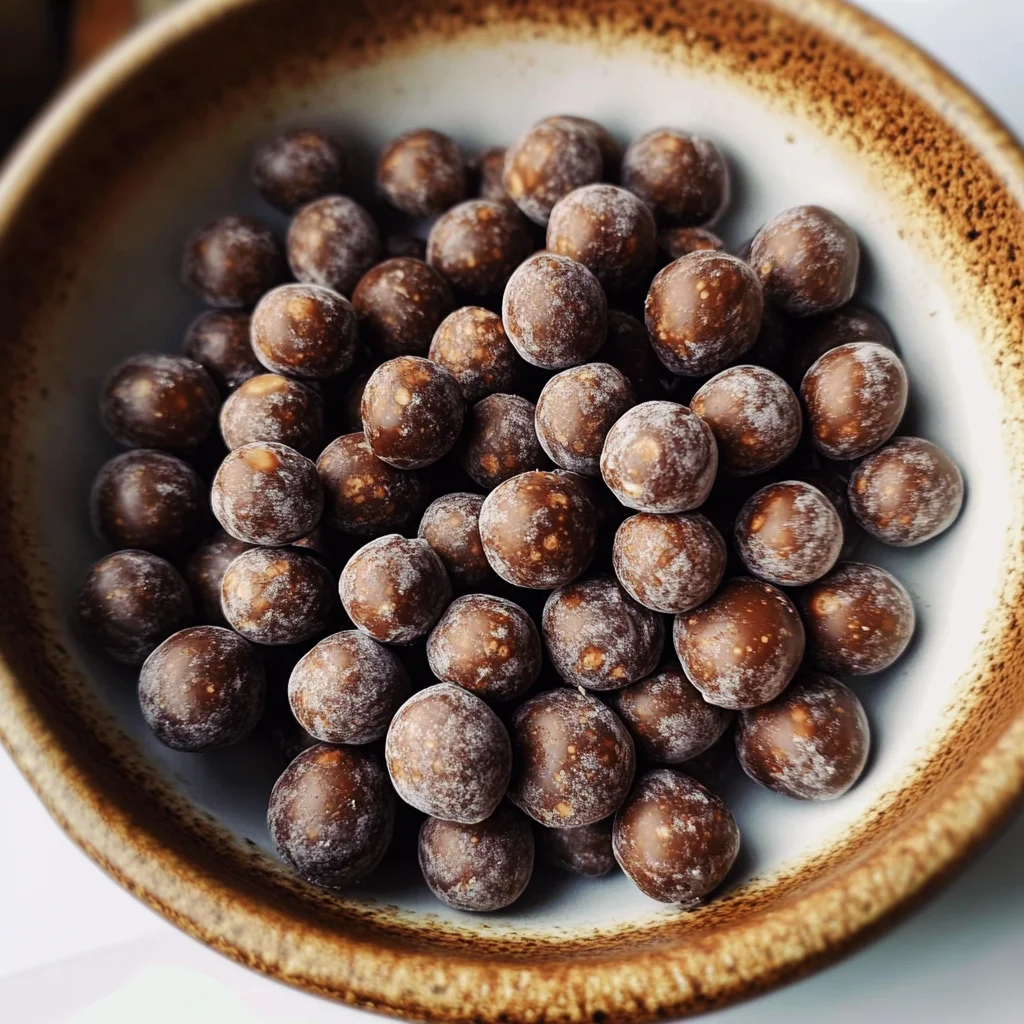
This Chocolate Cereal (Homemade Cocoa Puffs) is a delightful treat that combines simplicity with rich flavor. Perfect for breakfast or as a snack, this recipe uses just four wholesome ingredients. It’s gluten-free, dairy-free, and refined sugar-free, making it a fantastic choice for anyone looking for a healthier option that still satisfies sweet cravings. Both kids and adults will love these crunchy cocoa puffs!
Jump to:
- Why You’ll Love This Recipe
- Tools and Preparation
- Essential Tools and Equipment
- Importance of Each Tool
- Ingredients
- For the Chocolate Cereal
- How to Make Chocolate Cereal (Homemade Cocoa Puffs)
- Step 1: Combine Wet Ingredients
- Step 2: Mix Dry Ingredients
- Step 3: Form the Dough
- Step 4: Preheat Oven
- Step 5: Shape Cereal Balls
- Step 6: Bake
- Step 7: Serve
- How to Serve Chocolate Cereal (Homemade Cocoa Puffs)
- With Dairy-Free Milk
- Topped with Fresh Fruit
- Sprinkled with Nuts
- As a Snack
- Layered in Parfaits
- Mixed with Trail Mix
- How to Perfect Chocolate Cereal (Homemade Cocoa Puffs)
- Best Side Dishes for Chocolate Cereal (Homemade Cocoa Puffs)
- Common Mistakes to Avoid
- Storage & Reheating Instructions
- Refrigerator Storage
- Freezing Chocolate Cereal (Homemade Cocoa Puffs)
- Reheating Chocolate Cereal (Homemade Cocoa Puffs)
- Frequently Asked Questions
- How do I make gluten-free Chocolate Cereal (Homemade Cocoa Puffs)?
- Can I substitute other nut/seed butters?
- How long does it take to prepare Chocolate Cereal (Homemade Cocoa Puffs)?
- What can I serve with Chocolate Cereal?
- Final Thoughts
- 📖 Recipe Card
Why You’ll Love This Recipe
- Quick and Easy: With only four ingredients, you can whip up this chocolate cereal in no time.
- Healthy Indulgence: Enjoy the rich chocolate flavor while keeping your diet clean and nutritious.
- Customizable: Feel free to swap in your favorite nut or seed butter for a personal touch.
- Versatile Snack: Great for breakfast or as an on-the-go snack, this cereal fits any occasion.
Tools and Preparation
Before diving into the recipe, gather some essential tools to make the process smooth and enjoyable.
Essential Tools and Equipment
- Mixing bowl
- Spoon
- Baking sheet
- Parchment paper or silicone mat
- Knife
Importance of Each Tool
- Mixing bowl: This is where all the magic happens; it allows you to combine ingredients easily.
- Baking sheet: A sturdy baking sheet is essential for even cooking of your chocolate cereal.
- Parchment paper or silicone mat: These prevent sticking and make cleanup a breeze.
Ingredients
To create your own delicious chocolate cereal, you’ll need the following ingredients:
For the Chocolate Cereal
- 2/3 cup oat flour (gluten-free if needed)
- 3 Tbsp maple syrup (or any other liquid sweetener)
- 3 1/2 Tbsp nut/seed butter (of choice)
- 2 1/2 Tbsp cocoa powder (or cacao powder)
How to Make Chocolate Cereal (Homemade Cocoa Puffs)
Step 1: Combine Wet Ingredients
In a mixing bowl, combine the nut/seed butter and maple syrup. Stir well with a spoon until fully blended.
Step 2: Mix Dry Ingredients
Add the oat flour and cocoa powder to the bowl. Mix again until combined into a dough-like consistency.
Step 3: Form the Dough
Use your hands to shape the mixture into dough. If it feels too dry, add more maple syrup or nut/seed butter. If too wet, sprinkle in more oat flour by the teaspoon.
Step 4: Preheat Oven
Preheat your oven to 320 °F (160 °C). Line a large baking sheet with parchment paper or a silicone mat for easy removal later.
Step 5: Shape Cereal Balls
Divide the dough into four equal pieces. Roll each piece into ropes about 1 inch thick, then cut them into smaller pieces about ½-¾ inch thick. Roll each piece into small balls using your hands.
Step 6: Bake
Transfer the cereal balls onto the prepared baking sheet with space between each ball. Bake for about 10 minutes. Allow them to cool completely before handling, as they will harden as they cool down.
Step 7: Serve
Enjoy your homemade chocolate cereal balls with your favorite dairy-free milk or as a snack on their own! Add fresh fruit if desired for an extra burst of flavor.
How to Serve Chocolate Cereal (Homemade Cocoa Puffs)
Serving your homemade chocolate cereal is an enjoyable experience. Whether you want a quick breakfast or a delightful snack, there are numerous ways to elevate your cocoa puffs.
With Dairy-Free Milk
- Pour your favorite dairy-free milk over the chocolate cereal for a classic breakfast. Almond, oat, or coconut milk all pair wonderfully.
Topped with Fresh Fruit
- Add slices of bananas or strawberries for a burst of freshness. The sweetness of the fruit complements the chocolate flavor perfectly.
Sprinkled with Nuts
- Enhance the texture by adding chopped nuts like almonds or hazelnuts. They provide a nice crunch and extra nutrients.
As a Snack
- Enjoy these cocoa puffs as a snack on their own. They are perfect for munching anytime during the day!
Layered in Parfaits
- Create a delightful parfait by layering chocolate cereal with dairy-free yogurt and fruits. It’s visually appealing and delicious!
Mixed with Trail Mix
- Combine cocoa puffs with dried fruits and seeds for a nutritious trail mix. This is great for on-the-go snacking!
How to Perfect Chocolate Cereal (Homemade Cocoa Puffs)
To ensure your chocolate cereal turns out perfectly every time, consider these helpful tips.
- Use fresh ingredients: Always check that your cocoa powder and nut/seed butter are fresh for the best flavor.
- Adjust sweetness: Depending on your preference, feel free to modify the amount of maple syrup to achieve your desired sweetness level.
- Monitor baking time: Keep an eye on the baking process. Remove them from the oven just as they begin to firm up to avoid burning.
- Store properly: Store leftover cocoa puffs in an airtight container at room temperature to maintain their crunchiness.
- Experiment with flavors: Try adding vanilla extract or spices like cinnamon for added depth of flavor.
- Make it fun: Involve kids in shaping the dough into balls; it’s a fun activity that makes them more excited about healthy snacks!
Best Side Dishes for Chocolate Cereal (Homemade Cocoa Puffs)
Pairing side dishes with your chocolate cereal can create a balanced meal. Here are some tasty options:
- Fruit Salad: A refreshing mix of seasonal fruits can brighten up your breakfast and add vitamins.
- Smoothie Bowl: Blend up fruits with dairy-free yogurt, pour it into a bowl, and top it with chocolate cereal for added crunch.
- Avocado Toast: The creaminess of avocado on whole-grain toast provides healthy fats that complement the sweetness of cocoa puffs.
- Nut Butter Toast: Spread almond or peanut butter on whole-grain bread and top with banana slices for extra protein.
- Chia Seed Pudding: Serve chia pudding made with almond milk as a nutritious side dish that pairs well with cocoa puffs.
- Vegetable Sticks & Hummus: For something savory, offer sliced cucumbers or carrots with hummus—a great way to balance flavors!
Common Mistakes to Avoid
Homemade chocolate cereal can be easy and fun to make, but there are some common mistakes that can affect the outcome. Here’s how to steer clear of them.
- Ignoring the consistency: Make sure to adjust the dough if it’s too dry or wet. Adding more maple syrup or nut/seed butter will help if it’s dry, while more oat flour can fix excess moisture.
- Overbaking: Keep an eye on your cocoa puffs as they bake. They should bake for about 10 minutes; overbaking can lead to burnt cereal.
- Not rolling evenly: When shaping the dough into ropes, ensure they are of uniform thickness. This helps with even cooking and texture.
- Skipping cooling time: Be patient and let the chocolate cereal cool completely after baking. They will firm up as they cool, leading to a better texture.
- Not measuring accurately: Use precise measurements for each ingredient. This ensures the right balance of flavors and textures in your chocolate cereal.

Storage & Reheating Instructions
Refrigerator Storage
- Store in an airtight container for up to 1 week.
- Ensure the chocolate cereal is completely cooled before sealing.
Freezing Chocolate Cereal (Homemade Cocoa Puffs)
- Freeze in a single layer on a baking sheet, then transfer to an airtight container.
- Can be frozen for up to 3 months for best quality.
Reheating Chocolate Cereal (Homemade Cocoa Puffs)
- Oven: Preheat to 350°F (175°C) and warm for about 5-7 minutes until crispy.
- Microwave: Place a serving in a bowl and heat for 15-20 seconds; check frequently.
- Stovetop: Heat in a skillet over low heat, stirring gently until warmed through.
Frequently Asked Questions
Here are some common questions about making chocolate cereal at home.
How do I make gluten-free Chocolate Cereal (Homemade Cocoa Puffs)?
You can make this recipe gluten-free by using certified gluten-free oat flour and ensuring all other ingredients are also gluten-free.
Can I substitute other nut/seed butters?
Yes! You can use almond butter, sunflower seed butter, or tahini based on your preference or dietary needs.
How long does it take to prepare Chocolate Cereal (Homemade Cocoa Puffs)?
The total time from preparation to baking is about 30 minutes, making it a quick option for breakfast or snacks.
What can I serve with Chocolate Cereal?
Enjoy these cocoa puffs with your favorite dairy-free milk or top them with fresh fruit like bananas or berries for added flavor.
Final Thoughts
This homemade chocolate cereal is not only simple but also customizable. Experiment with different nut/seed butters or add-ins like nuts and dried fruits. It makes a delightful breakfast or snack that everyone will love!
Did You Enjoy Making This Recipe? Please rate this recipe with ⭐⭐⭐⭐⭐ or leave a comment.
📖 Recipe Card
Print
Chocolate Cereal (Homemade Cocoa Puffs)
- Total Time: 20 minutes
- Yield: Approximately 8 servings 1x
Description
Indulge in the delightful crunch of homemade Chocolate Cereal (Homemade Cocoa Puffs), a healthier twist on your favorite breakfast treat. Made with just four wholesome ingredients, this recipe is gluten-free, dairy-free, and refined sugar-free, making it the perfect choice for both kids and adults seeking a nutritious yet satisfying snack. Whether enjoyed as a quick breakfast with dairy-free milk or as an on-the-go snack, these cocoa puffs are sure to please your sweet tooth without compromising your health goals. Get ready to savor the rich chocolate flavor while keeping your diet clean and delicious.
Ingredients
- 2/3 cup oat flour (gluten-free if needed)
- 3 Tbsp maple syrup (or other liquid sweetener)
- 3 1/2 Tbsp nut/seed butter (of choice)
- 2 1/2 Tbsp cocoa powder (or cacao powder)
Instructions
- Combine the nut/seed butter and maple syrup in a mixing bowl, stirring until blended.
- Add the oat flour and cocoa powder; mix until dough-like consistency forms.
- Shape the mixture into dough; adjust texture with more syrup or flour as needed.
- Preheat oven to 320°F (160°C) and line a baking sheet with parchment paper.
- Roll the dough into ropes, cut into smaller pieces, and form into balls.
- Bake for about 10 minutes; cool completely before enjoying.
- Prep Time: 10 minutes
- Cook Time: 10 minutes
- Category: Breakfast
- Method: Baking
- Cuisine: American
Nutrition
- Serving Size: 1/8 cup
- Calories: 120
- Sugar: 4g
- Sodium: 5mg
- Fat: 7g
- Saturated Fat: 1g
- Unsaturated Fat: 6g
- Trans Fat: 0g
- Carbohydrates: 14g
- Fiber: 2g
- Protein: 3g
- Cholesterol: 0mg