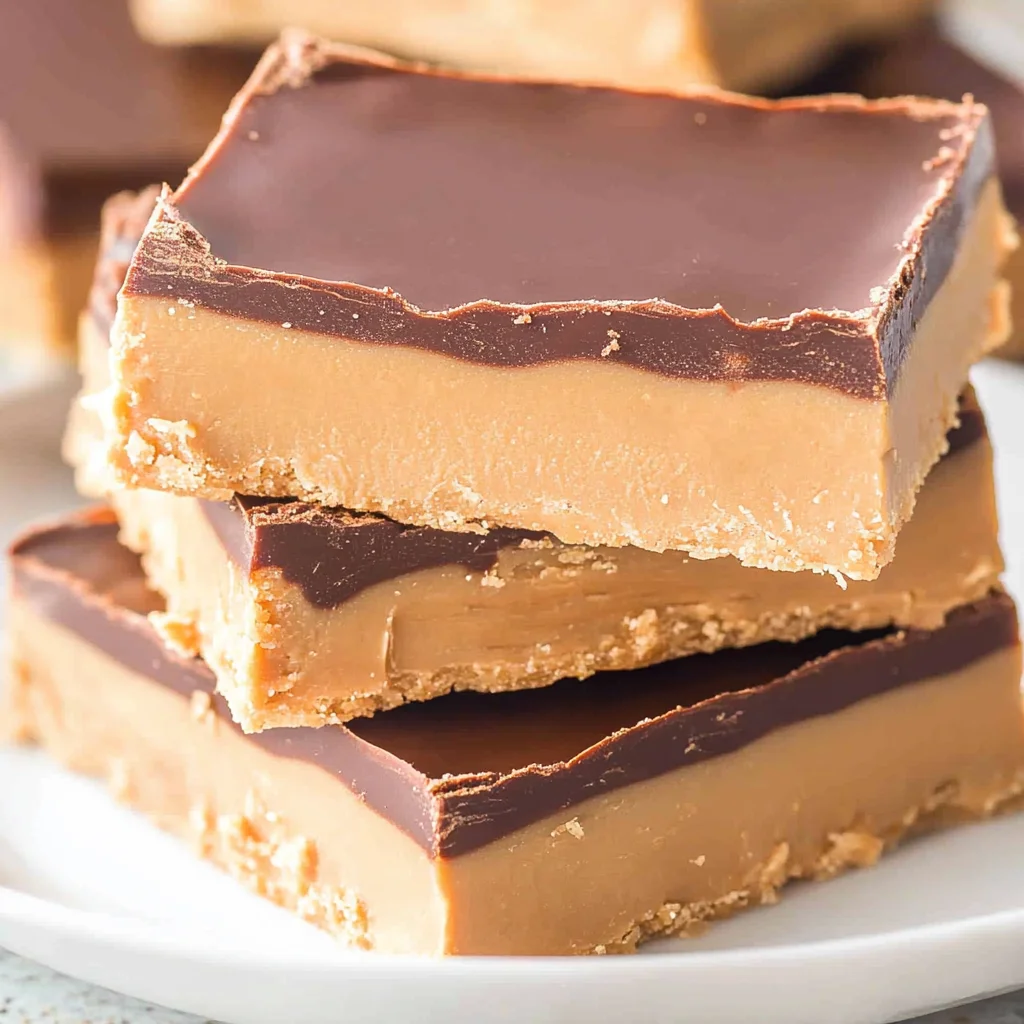
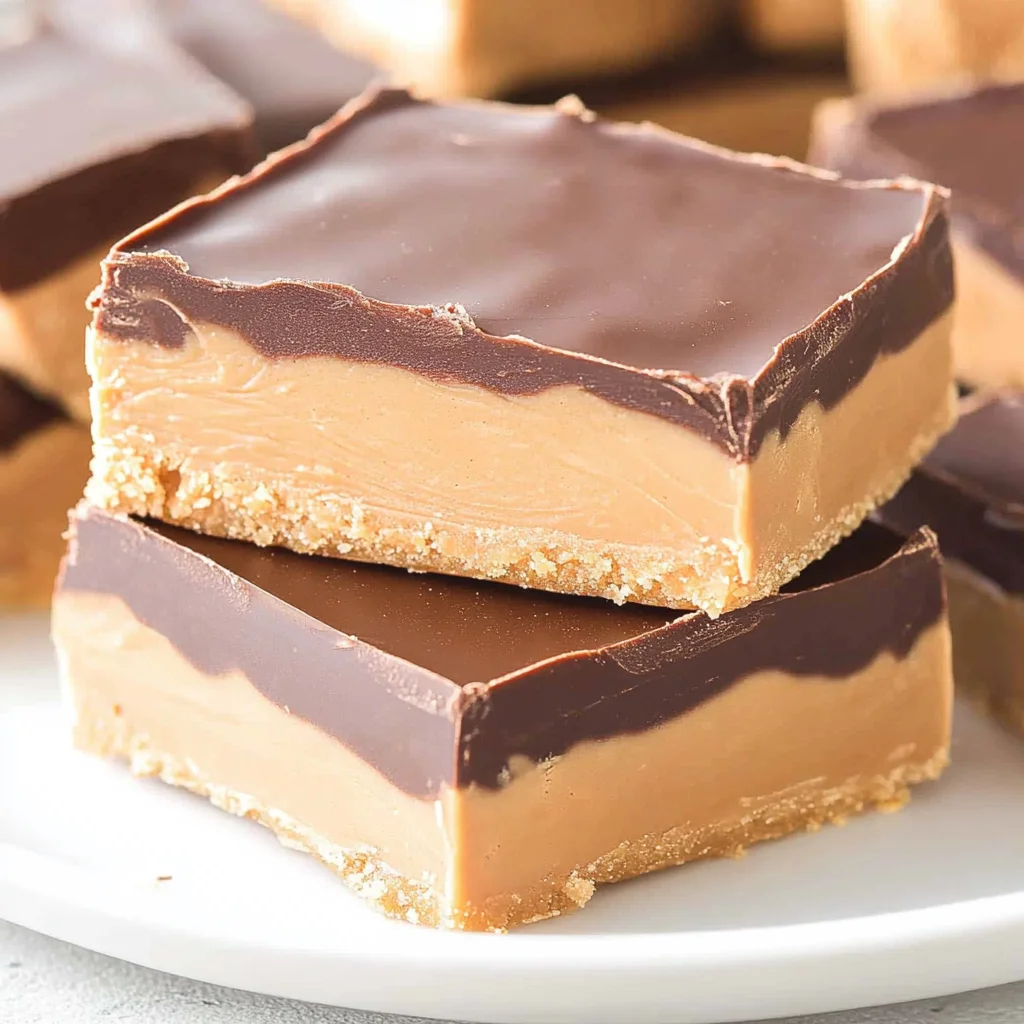
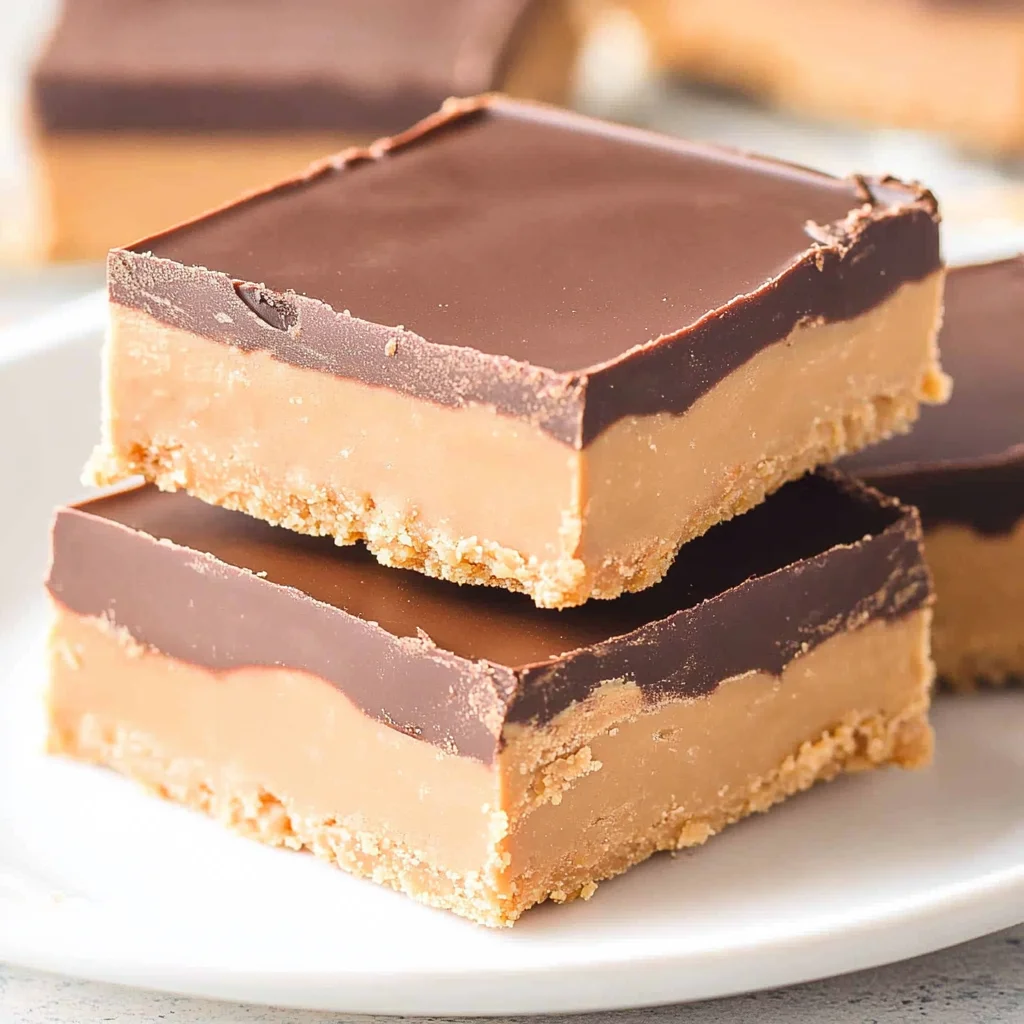
Quick and easy no-bake Chocolate Peanut Butter Bars are the perfect sweet treat for anytime. These delicious bars combine the rich flavors of chocolate and peanut butter, making them a crowd-pleaser for parties, picnics, or just a cozy night in. They are not only simple to make but also require no baking, so you can whip them up in just 15 minutes and let the fridge do the rest. Enjoy these bars as an after-school snack or a delightful dessert to impress your friends!

Jump to:
- Why You’ll Love This Recipe
- Tools and Preparation
- Essential Tools and Equipment
- Importance of Each Tool
- Ingredients
- For the Base
- For the Topping
- How to Make No-Bake Chocolate Peanut Butter Bars
- Step 1: Crush the Vanilla Wafers
- Step 2: Combine Dry Ingredients
- Step 3: Mix the Dough
- Step 4: Prepare Your Pan
- Step 5: Press Down Evenly
- Step 6: Melt Chocolate Mixture
- Step 7: Spread Chocolate Layer
- Step 8: Chill Until Set
- Step 9: Serve
- How to Serve No-Bake Chocolate Peanut Butter Bars
- Enjoy with Coffee
- Add Fresh Fruit
- Ice Cream Delight
- Drizzle with Caramel Sauce
- Create Mini Desserts
- Share with Friends
- How to Perfect No-Bake Chocolate Peanut Butter Bars
- Best Side Dishes for No-Bake Chocolate Peanut Butter Bars
- Common Mistakes to Avoid
- Storage & Reheating Instructions
- Refrigerator Storage
- Freezing No-Bake Chocolate Peanut Butter Bars
- Reheating No-Bake Chocolate Peanut Butter Bars
- Frequently Asked Questions
- How long do No-Bake Chocolate Peanut Butter Bars last?
- Can I customize my No-Bake Chocolate Peanut Butter Bars?
- What’s the best way to cut No-Bake Chocolate Peanut Butter Bars?
- Can I make these bars gluten-free?
- Final Thoughts
- 📖 Recipe Card
Why You’ll Love This Recipe
- Quick Preparation: You can make these bars in just 15 minutes, making them perfect for last-minute cravings.
- No Baking Required: These bars set in the refrigerator, so you don’t need to turn on the oven.
- Irresistible Flavor: The creamy peanut butter combined with rich chocolate creates a flavor combination that everyone loves.
- Versatile Treat: Perfect for any occasion—birthdays, parties, or just a quiet evening at home.
- Customizable Ingredients: Feel free to swap out ingredients or add extras like nuts or coconut for a unique twist.
Tools and Preparation
Before you start making your no-bake Chocolate Peanut Butter Bars, gather the necessary tools. Having everything ready will make the process smoother and more enjoyable.
Essential Tools and Equipment
- Food processor
- 8×8 inch baking pan
- Parchment paper
- Microwave-safe bowl
- Spatula
- Plastic wrap
Importance of Each Tool
- Food processor: Essential for quickly crushing the vanilla wafers and mixing ingredients into a smooth dough.
- Parchment paper: Keeps your bars from sticking to the pan, allowing for easy removal and cutting.
- Microwave-safe bowl: Perfect for melting chocolate and peanut butter together without burning.
Ingredients
For the Base
- 3 cups vanilla wafers
- 2 cups powdered sugar
- 1 ¼ cups creamy peanut butter (divided)
- ¾ cup salted butter, melted (1 ½ stick)
- 1 teaspoon vanilla
For the Topping
- 1 cup milk chocolate chips
How to Make No-Bake Chocolate Peanut Butter Bars
Step 1: Crush the Vanilla Wafers
Place the vanilla wafers in a food processor and pulse until crushed into fine crumbs, about 1-2 minutes.
Step 2: Combine Dry Ingredients
Add in the powdered sugar to the food processor and pulse 1-2 times until combined.
Step 3: Mix the Dough
Add 1 cup of the divided peanut butter, melted butter, and vanilla extract to the food processor. Blend together until a smooth, thick dough forms, about 2-3 minutes.
Step 4: Prepare Your Pan
Line an 8×8 inch baking pan with parchment paper. Scoop in the peanut butter dough.
Step 5: Press Down Evenly
Press the dough down into an even layer in the prepared pan. Cover it with plastic wrap and place it in the refrigerator to chill.
Step 6: Melt Chocolate Mixture
Place the remaining chocolate chips and ¼ cup of creamy peanut butter in a microwave-safe bowl. Heat for 60 seconds and stir until smooth. If needed, continue heating in 10-second increments until fully melted but do not overheat.
Step 7: Spread Chocolate Layer
Pour the chocolate mixture over the top of the peanut butter layer. Use a spatula to smooth it into an even layer.
Step 8: Chill Until Set
Cover the pan with plastic wrap again and refrigerate until set, about 3-4 hours.
Step 9: Serve
Once completely set, cut into squares and serve. Enjoy your delightful no-bake Chocolate Peanut Butter Bars!
How to Serve No-Bake Chocolate Peanut Butter Bars
No-bake chocolate peanut butter bars are a delightful treat that can be enjoyed in various ways. Whether you’re hosting a gathering or just indulging yourself, these bars can be served to elevate any occasion.
Enjoy with Coffee
- Pairing these bars with a cup of coffee enhances the rich flavors. The bitterness of coffee beautifully complements the sweetness of the chocolate and peanut butter.
Add Fresh Fruit
- Serve alongside fresh fruit like strawberries or bananas for a refreshing contrast. The natural sweetness of the fruit balances the richness of the bars.
Ice Cream Delight
- Top your chocolate peanut butter bars with a scoop of vanilla ice cream. This combination creates a decadent dessert that is sure to impress.
Drizzle with Caramel Sauce
- For an extra touch of sweetness, drizzle caramel sauce over the bars before serving. This adds an indulgent layer that takes them to another level.
Create Mini Desserts
- Cut the bars into smaller squares and serve on a platter for bite-sized treats. This makes them perfect for parties and gatherings.
Share with Friends
- Pack individual servings in cute boxes or bags to share with friends. It’s a thoughtful gesture that everyone will appreciate.
How to Perfect No-Bake Chocolate Peanut Butter Bars
Perfecting no-bake chocolate peanut butter bars requires attention to detail. Here are some tips to ensure they turn out fantastic every time.
- Use quality ingredients – Opt for high-quality peanut butter and chocolate chips. This enhances the overall flavor and texture of your bars.
- Chill thoroughly – Make sure to chill the bars long enough until they are completely set. This step is crucial for achieving the right consistency.
- Press firmly – When spreading the peanut butter mixture in the pan, press it down firmly to eliminate air pockets. A compact base ensures better slicing.
- Microwave carefully – When melting chocolate, heat it in short intervals and stir often. This prevents overheating and keeps it smooth.
- Experiment with toppings – Feel free to add nuts, sprinkles, or additional chocolate on top before chilling for extra flair.
- Store properly – Keep leftovers in an airtight container in the refrigerator. Proper storage helps maintain freshness and texture.
Best Side Dishes for No-Bake Chocolate Peanut Butter Bars
Pairing side dishes with no-bake chocolate peanut butter bars can create a more rounded dessert experience. Here are some great options to consider:
- Fruit Salad – A light mix of seasonal fruits provides freshness that balances the richness of the bars.
- Cheesecake Bites – Mini cheesecake bites offer creamy goodness that contrasts well with the crunchy texture of the bars.
- Chocolate-Covered Pretzels – These salty-sweet snacks provide another layer of flavor while complementing your dessert spread.
- Yogurt Parfaits – Layer yogurt with granola and berries for a healthy yet tasty option that pairs nicely.
- Nut Mix – A bowl of assorted nuts adds crunch and protein, making it a satisfying accompaniment.
- Whipped Cream – A dollop of whipped cream on top provides extra creaminess that enhances each bite of the bar.
- Coffee Cake – A slice of coffee cake is perfect for those who enjoy pairing their desserts with baked goods.
- Milkshakes – Blend up some milkshakes for a fun drink option that goes hand-in-hand with these delicious treats.
Common Mistakes to Avoid
Making No-Bake Chocolate Peanut Butter Bars can be simple, but there are a few common mistakes that can lead to less-than-perfect results.
Using stale ingredients: Always check your vanilla wafers and peanut butter for freshness. Stale ingredients can affect the flavor and texture of your bars.
Not measuring accurately: Use precise measurements for ingredients like powdered sugar and peanut butter. Inaccurate measurements can lead to a gooey or dry final product.
Skipping the chilling time: Patience is key! Allowing the bars to set in the refrigerator for at least 3-4 hours ensures they hold together properly when cut.
Overheating chocolate: When melting chocolate, use short intervals in the microwave. Overheating can cause the chocolate to seize up, ruining the smooth topping.
Neglecting parchment paper: Lining your baking pan with parchment paper helps with easy removal and cleanup. Skipping this step may make it difficult to cut and serve your bars.
Storage & Reheating Instructions
Refrigerator Storage
- Store the bars in an airtight container.
- They will last up to one week in the refrigerator.
- Keep them away from strong-smelling foods to prevent flavor absorption.
Freezing No-Bake Chocolate Peanut Butter Bars
- Wrap individual bars tightly in plastic wrap or aluminum foil.
- Place them in a freezer-safe container for up to three months.
- Thaw overnight in the refrigerator before serving.
Reheating No-Bake Chocolate Peanut Butter Bars
- Oven: Preheat your oven to 350°F (175°C). Place bars on a baking sheet and warm for about 5 minutes.
- Microwave: Heat on low power for 10-15 second bursts until slightly warm.
- Stovetop: Use a double boiler method; place bars in a heat-safe bowl over simmering water, stirring gently until they warm through.
Frequently Asked Questions
How long do No-Bake Chocolate Peanut Butter Bars last?
These bars can last up to one week when stored properly in the refrigerator.
Can I customize my No-Bake Chocolate Peanut Butter Bars?
Absolutely! You can add ingredients like crushed nuts, dried fruit, or even swap out chocolate chips for white chocolate or dark chocolate.
What’s the best way to cut No-Bake Chocolate Peanut Butter Bars?
Use a sharp knife warmed under hot water for clean cuts. Wipe the knife between cuts for neat edges.
Can I make these bars gluten-free?
Yes! Substitute vanilla wafers with gluten-free options available at most grocery stores.
Final Thoughts
No-Bake Chocolate Peanut Butter Bars are a deliciously easy treat that everyone will love. Their versatility allows you to customize them with various mix-ins or toppings, making them perfect for any occasion. Give this recipe a try, and enjoy a delightful dessert that’s sure to impress!
Did You Enjoy Making This Recipe? Please rate this recipe with ⭐⭐⭐⭐⭐ or leave a comment.
📖 Recipe Card
Print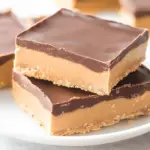
No-Bake Chocolate Peanut Butter Bars
- Total Time: 0 hours
- Yield: Approximately 16 servings 1x
Description
Indulge in the ultimate treat with these quick and easy no-bake Chocolate Peanut Butter Bars! In just 15 minutes, you can create a rich, creamy dessert that perfectly balances the flavors of chocolate and peanut butter. Ideal for any occasion, from parties to cozy nights at home, these bars require no baking—just chill them in the fridge and they’re ready to serve. With a few simple ingredients, you can impress your family and friends with this delightful treat that everyone will love.
Ingredients
- 3 cups vanilla wafers
- 2 cups powdered sugar
- 1 ¼ cups creamy peanut butter (divided)
- ¾ cup salted butter, melted
- 1 teaspoon vanilla extract
- 1 cup milk chocolate chips
Instructions
- Crush the vanilla wafers in a food processor until fine crumbs form (about 1-2 minutes).
- Add powdered sugar to the crumbs and pulse briefly to combine.
- Mix in 1 cup of peanut butter, melted butter, and vanilla extract until a thick dough forms (2-3 minutes).
- Line an 8×8 inch baking pan with parchment paper and press the dough evenly into the bottom.
- Melt remaining chocolate chips with ¼ cup peanut butter in a microwave-safe bowl for about 60 seconds; stir until smooth.
- Pour the melted chocolate mixture over the peanut butter layer in the pan and smooth it out.
- Cover with plastic wrap and chill in the refrigerator for 3-4 hours until set.
- Once set, cut into squares and enjoy!
- Prep Time: 15 minutes
- Cook Time: None
- Category: Dessert
- Method: No-bake
- Cuisine: American
Nutrition
- Serving Size: 1 serving
- Calories: 210
- Sugar: 14g
- Sodium: 90mg
- Fat: 12g
- Saturated Fat: 6g
- Unsaturated Fat: 5g
- Trans Fat: 0g
- Carbohydrates: 23g
- Fiber: 1g
- Protein: 3g
- Cholesterol: 15mg