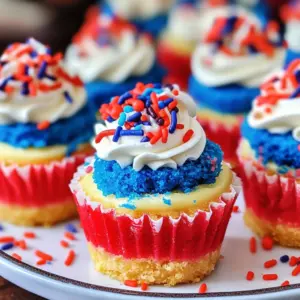
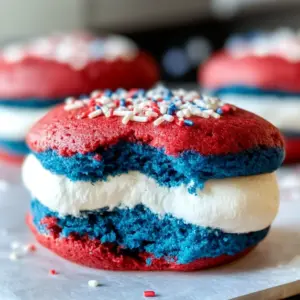
These Red, White and Blue Mini Cheesecakes are a delightful treat that combines creamy flavors with a festive look. Perfect for any patriotic celebration, these individual cheesecakes are not only visually appealing but also incredibly easy to make. The layers of red, white, and blue create a stunning presentation that will impress your guests at events like the 4th of July or Memorial Day. Plus, they are an exceptional dessert option that everyone will love!

Jump to:
- Why You’ll Love This Recipe
- Tools and Preparation
- Essential Tools and Equipment
- Importance of Each Tool
- Ingredients
- For the Crust
- For the Filling
- For the Whipped Cream Topping
- How to Make Red, White and Blue Mini Cheesecakes
- Step 1: Preheat the Oven
- Step 2: Prepare the Crust
- Step 3: Bake the Crust
- Step 4: Make the Filling
- Step 5: Add Remaining Ingredients
- Step 6: Incorporate Eggs
- Step 7: Color Your Batter
- Step 8: Layer Your Batters
- Step 9: Bake Cheesecakes
- Step 10: Cool Down
- Step 11: Remove from Pan
- Step 12: Prepare Whipped Cream Topping
- Step 13: Decorate
- Step 14: Store
- How to Serve Red, White and Blue Mini Cheesecakes
- Individual Dessert Plates
- Festive Dessert Table
- Party Favors
- Ice Cream Pairing
- Fruit Garnish
- How to Perfect Red, White and Blue Mini Cheesecakes
- Best Side Dishes for Red, White and Blue Mini Cheesecakes
- Common Mistakes to Avoid
- Storage & Reheating Instructions
- Refrigerator Storage
- Freezing Red, White and Blue Mini Cheesecakes
- Reheating Red, White and Blue Mini Cheesecakes
- Frequently Asked Questions
- Can I use different colors for my mini cheesecakes?
- How do I prevent cracks on my cheesecakes?
- What if I don’t have heavy whipping cream?
- Can I make these mini cheesecakes ahead of time?
- Final Thoughts
- 📖 Recipe Card
Why You’ll Love This Recipe
- Easy to Make: With simple steps and minimal prep time, these mini cheesecakes come together quickly.
- Great for Celebrations: Their vibrant colors make them ideal for festive occasions such as Independence Day parties or summer picnics.
- Creamy Texture: The combination of cream cheese and sour cream creates a rich, smooth filling that’s hard to resist.
- Customizable Topping: Top with whipped cream and sprinkles to add your personal touch.
- Portable Desserts: These mini cheesecakes are perfect for sharing; just grab one and go!
Tools and Preparation
Before diving into this delicious recipe, gather your tools. Having everything ready will streamline the process.
Essential Tools and Equipment
- Cupcake pan
- Cupcake liners
- Mixing bowls
- Electric mixer
- Spatula
- Measuring cups and spoons
Importance of Each Tool
- Cupcake pan: Ensures uniform baking and easy removal of the cheesecakes once set.
- Electric mixer: Provides quick mixing for smooth batter without lumps.
- Spatula: Great for scraping down the bowl to ensure all ingredients are well incorporated.
Ingredients
To create these festive Red, White and Blue Mini Cheesecakes, you’ll need the following ingredients:
For the Crust
- 1 cup (134g) vanilla wafer cookie crumbs
- 2 tbsp (26g) sugar
- 4 tbsp (56g) butter, melted
For the Filling
- 12 ounces (339g) cream cheese, room temperature
- 1/2 cup (104g) sugar
- 3 tbsp (24g) flour
- 1/2 cup (115g) sour cream
- 1 1/2 tsp vanilla extract
- 2 eggs
- Blue gel icing color
- Red gel icing color
For the Whipped Cream Topping
- 1/2 cup (120ml) heavy whipping cream, cold
- 5 tbsp (36g) powdered sugar
- 1/2 tsp vanilla extract
- Sprinkles
How to Make Red, White and Blue Mini Cheesecakes
Step 1: Preheat the Oven
Preheat your oven to 325°F (162°C). Prepare your cupcake pan by adding cupcake liners.
Step 2: Prepare the Crust
- In a mixing bowl, combine the vanilla wafer cookie crumbs, sugar, and melted butter.
- Divide this mixture among the cupcake liners (about 2 tablespoons per cup).
- Press firmly into the bottoms to form a crust layer.
Step 3: Bake the Crust
Bake the crusts in the preheated oven for about 5 minutes. Remove from oven and let cool while you prepare the filling.
Step 4: Make the Filling
- Lower oven temperature to 300°F (148°C).
- In a large bowl, mix together the cream cheese, sugar, and flour. Use low speed on your mixer to avoid incorporating too much air.
- Scrape down the sides of the bowl as needed.
Step 5: Add Remaining Ingredients
Add in the sour cream, along with vanilla extract. Mix on low speed until fully combined.
Step 6: Incorporate Eggs
Add each egg one at a time into your mixture. Beat slowly after each addition while also scraping down the sides.
Step 7: Color Your Batter
Divide your cheesecake batter evenly into three bowls. Leave one bowl as is; color one red using gel icing color and another blue.
Step 8: Layer Your Batters
Layer each colored batter into each crust:
1. Start with a tablespoon of white batter in each cup.
2. Follow with a tablespoon of red batter.
3. Finish with a tablespoon of blue batter.
Ensure that each cup is mostly full.
Step 9: Bake Cheesecakes
Bake in your preheated oven for about 18-20 minutes. After this time, turn off the oven but keep the door closed for an additional 10 minutes.
Step 10: Cool Down
Crack open the oven door slightly and allow cheesecakes to cool for about 15-20 minutes. Then move them to refrigerate until fully cooled.
Step 11: Remove from Pan
Once cooled completely, gently remove cheesecakes from their liners.
Step 12: Prepare Whipped Cream Topping
In a large mixing bowl, combine cold heavy whipping cream, powdered sugar, and remaining vanilla extract. Whip on high speed until stiff peaks form.
Step 13: Decorate
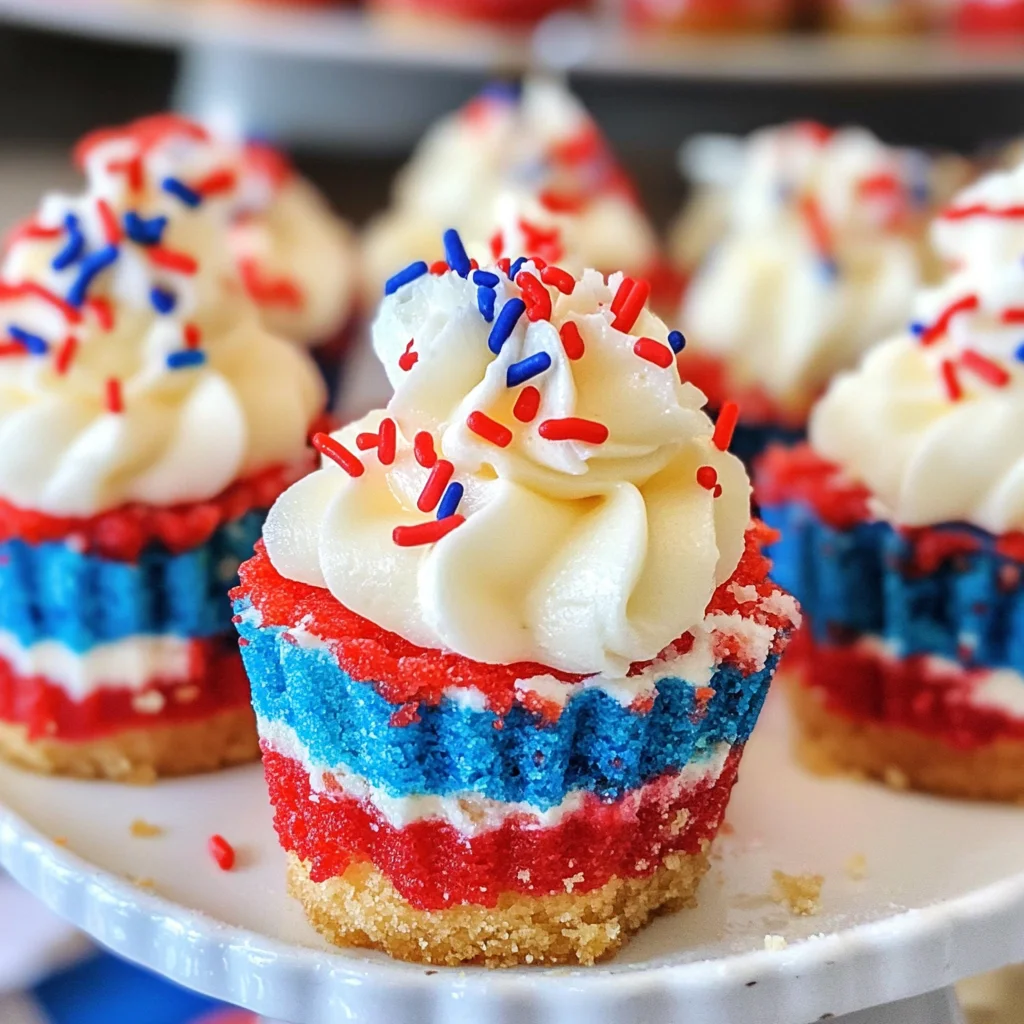
Pipe whipped cream onto each cheesecake top and sprinkle with colorful sprinkles for added festivity!
Step 14: Store
Refrigerate any leftovers in an airtight container until ready to serve. These mini cheesecakes are best enjoyed within 2-3 days!
How to Serve Red, White and Blue Mini Cheesecakes
These delightful Red, White and Blue Mini Cheesecakes are perfect for any festive occasion. They not only taste amazing but also look stunning on a dessert table. Here are some creative ways to serve them to impress your guests.
Individual Dessert Plates
- Serve each mini cheesecake on a decorative plate with a dollop of whipped cream on the side. This adds a touch of elegance to your presentation.
Festive Dessert Table
- Arrange the cheesecakes on a tiered cake stand. Add red and blue decorations or patriotic-themed items around them for a visually striking display.
Party Favors
- Wrap individual cheesecakes in clear plastic wrap and tie with a ribbon. This makes for a sweet take-home treat that your guests will love.
Ice Cream Pairing
- Offer a scoop of vanilla or berry ice cream alongside the cheesecakes. The creamy texture complements the cheesecakes beautifully.
Fruit Garnish
- Top each cheesecake with fresh berries, such as strawberries and blueberries, for added color and flavor. This enhances both the presentation and taste.
How to Perfect Red, White and Blue Mini Cheesecakes
To ensure your Red, White and Blue Mini Cheesecakes turn out perfectly, follow these simple tips. They will help you achieve that smooth texture and vibrant colors everyone loves.
Use room temperature ingredients: Make sure your cream cheese and eggs are at room temperature for an even mixture without lumps.
Avoid overmixing: Mix the batter on low speed to prevent air bubbles from forming, which can lead to cracks in the cheesecakes during baking.
Layer carefully: Pour each colored batter gently into the crusts to create distinct layers without mixing them together.
Cool gradually: Allow the cheesecakes to cool slowly in the oven after baking. This helps prevent cracking by reducing temperature shock.
Chill before serving: Refrigerate the mini cheesecakes for several hours (or overnight) before serving to enhance their flavor and texture.
Best Side Dishes for Red, White and Blue Mini Cheesecakes
Pairing side dishes with your Red, White and Blue Mini Cheesecakes can elevate your dessert experience. Consider these delicious options that complement their flavors perfectly.
Fresh Fruit Salad: A mix of seasonal fruits like watermelon, strawberries, and blueberries adds freshness and balances sweetness.
Patriotic Fruit Skewers: Alternate pieces of strawberries, banana slices, and blueberries on skewers for a fun finger food option.
Creamy Coleslaw: A tangy coleslaw can provide a nice contrast to the rich flavor of the cheesecakes while keeping things light.
Mini Vegetable Platter: Crunchy veggies like carrots, cucumbers, and bell peppers served with hummus offer a refreshing palate cleanser between bites.
Vanilla Pudding Cups: Individual cups of vanilla pudding topped with whipped cream can be a delightful addition that matches well with your mini cheesecakes.
Lemonade or Berry Spritzers: Serve refreshing drinks like lemonade or sparkling berry beverages that enhance the festive theme while providing hydration.
Common Mistakes to Avoid
Making Red, White and Blue Mini Cheesecakes can be fun, but it’s easy to make mistakes. Here are some common missteps to avoid for perfect results.
Boldly skip the cooling step: Not allowing your crusts to cool after baking can lead to a soggy base. Always let them cool before adding the filling for the best texture.
Boldly overmixing the batter: Mixing at high speed introduces air into the batter, causing cracks. Use low speed and mix just until combined for a smooth cheesecake.
Boldly skipping the water bath: While this recipe doesn’t require it, baking cheesecakes without proper temperature control can lead to uneven cooking. Make sure your oven is properly preheated.
Boldly ignoring egg temperature: Using cold eggs can affect how well they blend into the mixture. Allow eggs to reach room temperature for a smoother batter.
Boldly neglecting decoration: Cheesecakes can look plain without toppings. Whipped cream and sprinkles enhance both appearance and flavor, so don’t skip this step!
Storage & Reheating Instructions
Refrigerator Storage
- Store in an airtight container.
- Keep in the refrigerator for up to 3 days.
Freezing Red, White and Blue Mini Cheesecakes
- Wrap each cheesecake individually in plastic wrap.
- Place them in a freezer-safe container or bag.
- They can be frozen for up to 2 months.
Reheating Red, White and Blue Mini Cheesecakes
Oven: Preheat your oven to 300°F (148°C). Place cheesecakes on a baking sheet and heat for about 10 minutes until warmed through.
Microwave: Use a microwave-safe plate and heat in short bursts of 15 seconds. This method may alter texture slightly but is quick.
Stovetop: Place cheesecakes in a covered skillet over low heat. Heat gently until warmed through, checking frequently.
Frequently Asked Questions
Here are some common questions about making Red, White and Blue Mini Cheesecakes.
Can I use different colors for my mini cheesecakes?
Yes! You can customize the colors using any gel icing color you prefer. This allows you to adapt them for different celebrations or personal preferences.
How do I prevent cracks on my cheesecakes?
To avoid cracks, mix your batter slowly and avoid incorporating too much air. Additionally, keep an eye on baking time and temperature; overbaking can cause cracks as well.
What if I don’t have heavy whipping cream?
You can substitute with coconut cream or any non-dairy whipped topping if you’re looking for a lighter option or have dietary preferences.
Can I make these mini cheesecakes ahead of time?
Absolutely! These cheesecakes store well in the fridge or freezer, making them perfect for preparing ahead of time for parties or gatherings.
Final Thoughts
These Red, White and Blue Mini Cheesecakes are both delicious and visually stunning, making them an excellent choice for various festive occasions. Feel free to customize flavors or toppings to suit your tastes—experiment with different fruits or sauces to make them uniquely yours!
Did You Enjoy Making This Recipe? Please rate this recipe with ⭐⭐⭐⭐⭐ or leave a comment.
📖 Recipe Card
Print
Red, White and Blue Mini Cheesecakes
- Total Time: 50 minutes
- Yield: Makes approximately 12 servings 1x
Description
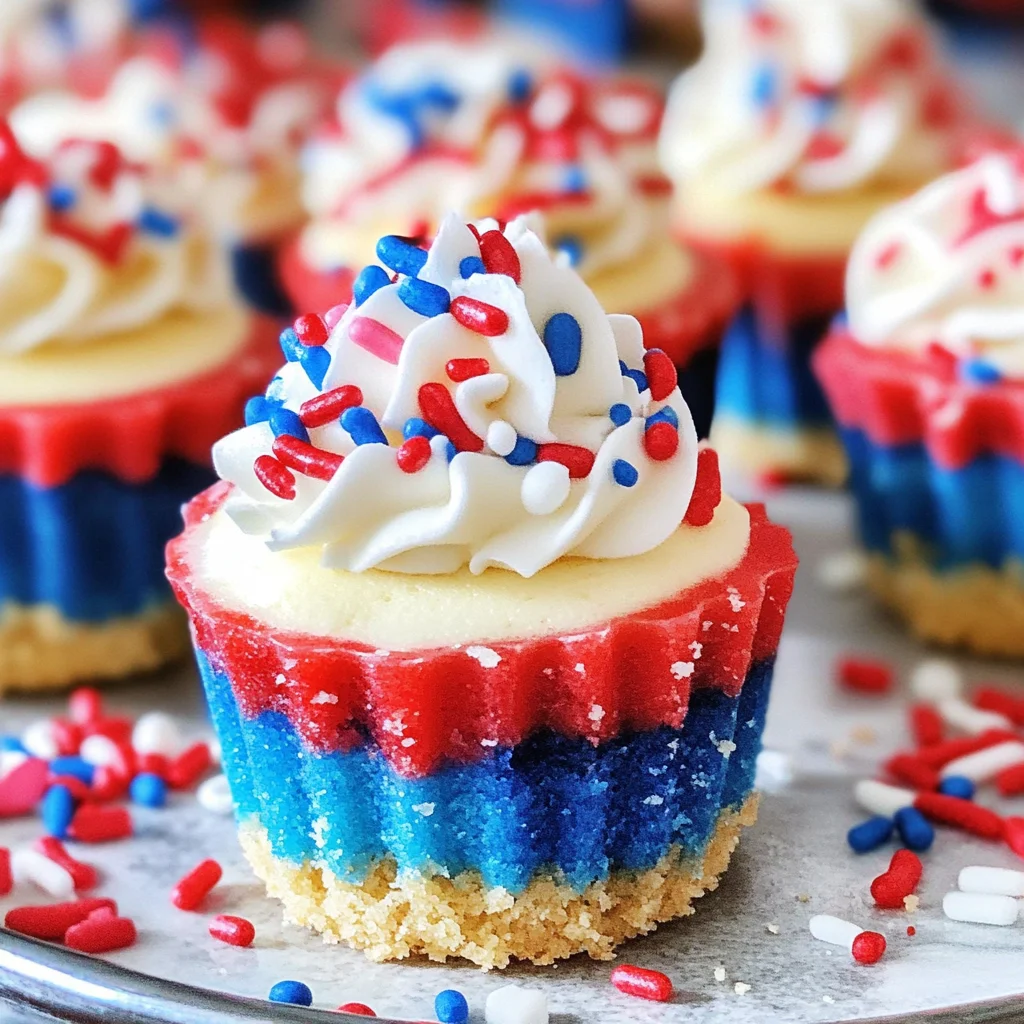
Experience the joy of celebration with these Red, White and Blue Mini Cheesecakes! These charming, individual desserts are perfect for any festive occasion, from summer barbecues to patriotic gatherings. Each mini cheesecake features layers of creamy filling in vibrant colors that not only catch the eye but also deliver a rich and delicious taste. With a simple crust made from vanilla wafer crumbs and customizable toppings, these cheesecakes are as easy to make as they are delightful to enjoy. Impress your guests with these sweet treats that encapsulate the spirit of celebration!
Ingredients
- 1 cup vanilla wafer cookie crumbs
- 2 tbsp sugar
- 4 tbsp melted butter
- 12 oz cream cheese
- 1/2 cup sugar
- 3 tbsp flour
- 1/2 cup sour cream
- 1 1/2 tsp vanilla extract
- 2 eggs
- Blue gel icing color
- Red gel icing color
- 1/2 cup heavy whipping cream
- 5 tbsp powdered sugar
- 1/2 tsp vanilla extract
- Sprinkles
Instructions
- Preheat oven to 325°F (162°C) and prepare a cupcake pan with liners.
- Combine cookie crumbs, sugar, and melted butter in a bowl; press into cupcake liners.
- Bake crusts for 5 minutes; let cool.
- Lower oven temperature to 300°F (148°C). In a bowl, mix cream cheese, sugar, and flour until smooth.
- Add sour cream and vanilla; mix until combined. Incorporate eggs one at a time.
- Divide batter into three bowls; color one red, one blue.
- Layer batters in the crusts: white first, then red, followed by blue.
- Bake for 18-20 minutes; cool in the oven with the door ajar for 10 minutes.
- Chill in the refrigerator before serving.
- Prep Time: 25 minutes
- Cook Time: 25 minutes
- Category: Dessert
- Method: Baking
- Cuisine: American
Nutrition
- Serving Size: 1 mini cheesecake (45g)
- Calories: 145
- Sugar: 10g
- Sodium: 95mg
- Fat: 10g
- Saturated Fat: 6g
- Unsaturated Fat: 4g
- Trans Fat: 0g
- Carbohydrates: 11g
- Fiber: <1g
- Protein: 2g
- Cholesterol: 40mg