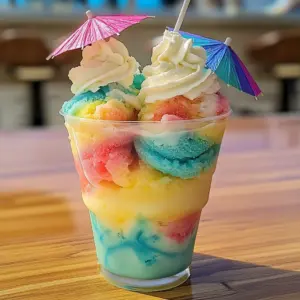
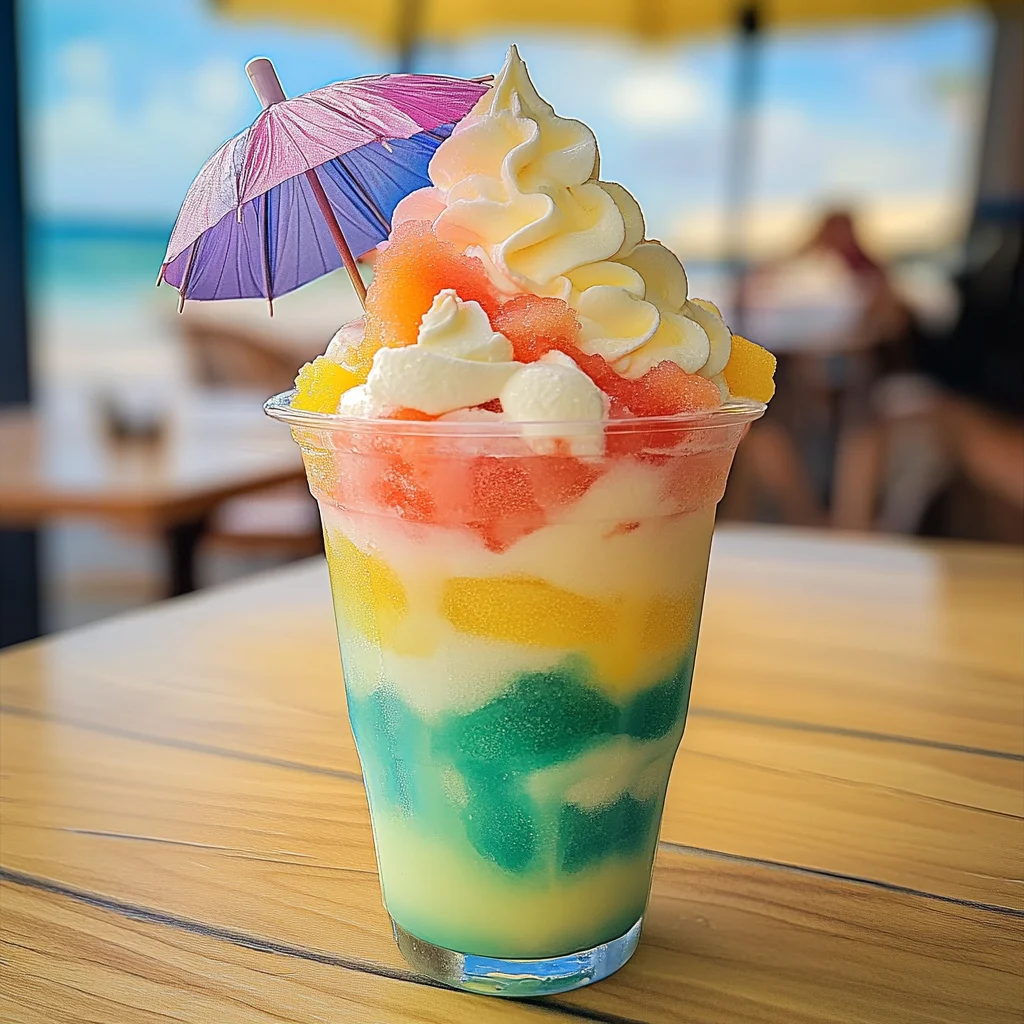
Rainbow Island Float is a delightful treat that brings tropical vibes to any gathering. This colorful frozen float, made with creamy coconut and vibrant rainbow sherbet, is perfect for hot summer days or festive celebrations. Whether you’re hosting a party or just looking to enjoy a fun drink at home, this recipe will impress both kids and adults alike. The combination of flavors and textures creates a stunning visual display while offering a refreshing taste that’s simply irresistible.
Jump to:
- Why You’ll Love This Recipe
- Tools and Preparation
- Essential Tools and Equipment
- Importance of Each Tool
- Ingredients
- For the Float Base
- For the Creamy Element
- For the Fizz
- Optional Garnishes
- How to Make Rainbow Island Float
- Step 1: Chill Your Glass
- Step 2: Layer the Base
- Step 3: Add the Coconut
- Step 4: Spike or Skip
- Step 5: Fizz It Up
- Step 6: Top It Off
- Step 7: Garnish
- Step 8: Serve Immediately
- How to Serve Rainbow Island Float
- For a Fun Gathering
- For Kids’ Parties
- For Summer BBQs
- As an Evening Treat
- How to Perfect Rainbow Island Float
- Best Side Dishes for Rainbow Island Float
- Common Mistakes to Avoid
- Storage & Reheating Instructions
- Refrigerator Storage
- Freezing Rainbow Island Float
- Reheating Rainbow Island Float
- Frequently Asked Questions
- Can I make a dairy-free version of Rainbow Island Float?
- How can I customize my Rainbow Island Float?
- Is Rainbow Island Float kid-friendly?
- What is the best way to serve Rainbow Island Float?
- Final Thoughts
- 📖 Recipe Card
Why You’ll Love This Recipe
- Easy to Prepare: This recipe requires minimal ingredients and only a few simple steps, making it perfect for any skill level.
- Fun Presentation: The vibrant colors of the rainbow sherbet create an eye-catching drink that looks as good as it tastes.
- Versatile Options: Whether you prefer a cocktail or mocktail, you can easily customize this float to suit your needs.
- Refreshing Taste: The combination of creamy coconut milk and fizzy soda makes for a delightful balance of flavors.
- Perfect for Any Occasion: From summer parties to family gatherings, this float is sure to be a hit with everyone.
Tools and Preparation
Having the right tools makes preparing your Rainbow Island Float even easier. Here’s what you’ll need:
Essential Tools and Equipment
- Tall glass or float glass
- Freezer
- Ice cream scoop
- Mixing spoon
Importance of Each Tool
- Tall glass or float glass: A tall glass allows for better layering of the ingredients, showcasing the beautiful colors.
- Freezer: Chilling the glass enhances the overall experience by keeping your float icy cold.
- Ice cream scoop: Ensures you can easily serve the rainbow sherbet without making a mess.
- Mixing spoon: Useful for gently swirling the coconut milk into the sherbet without disturbing the layers too much.
Ingredients
🌴 Ingredients:
For the Float Base
- 2–3 scoops rainbow sherbet
For the Creamy Element
- ½ cup coconut milk or coconut cream
For the Fizz
- ½ cup lemon-lime soda (like Sprite)
Optional Garnishes
- 1 oz Malibu vanilla extract (alcohol-free) (omit for a mocktail)
- Whipped cream, for topping
- Mini paper umbrella or rainbow straw, for garnish
How to Make Rainbow Island Float
Step 1: Chill Your Glass
Place your tall glass or float glass in the freezer for 10–15 minutes. This will create a frosty effect that enhances your drink’s presentation.
Step 2: Layer the Base
Add 2–3 scoops of rainbow sherbet directly into the chilled glass. This forms the colorful base of your float.
Step 3: Add the Coconut
Pour coconut milk or cream slowly over the sherbet. Allow it to swirl around gently so that it mixes but still maintains some layers.
Step 4: Spike or Skip
If you’re making a cocktail version, drizzle in 1 oz of Malibu vanilla extract. If you prefer a kid-friendly mocktail version, skip this step.
Step 5: Fizz It Up
Gently pour lemon-lime soda over the top of your layered mixture. Watch as it foams and bubbles, creating that magical floating effect!
Step 6: Top It Off
Add a generous swirl of whipped cream on top for extra indulgence.
Step 7: Garnish
Decorate your float with a mini paper umbrella or colorful rainbow straw. This adds an extra touch of fun!
Step 8: Serve Immediately
Enjoy your Rainbow Island Float while it’s icy cold and beautifully layered!
How to Serve Rainbow Island Float
Serving a Rainbow Island Float is all about presentation and fun! This vibrant drink can be enjoyed in various ways to enhance its tropical charm. Here are some delightful serving suggestions.
For a Fun Gathering
- Colorful Straws: Use vibrant, reusable straws to add a festive touch while making it easy to sip.
- Themed Cups: Serve in beach-themed or colorful cups for a more immersive experience.
For Kids’ Parties
- Mini Umbrellas: Add mini paper umbrellas for an instant party vibe that kids will love.
- DIY Float Station: Set up a float station with different flavors of sherbet and toppings so kids can create their own versions.
For Summer BBQs
- Serve with Ice Cream Spoons: Provide small spoons for guests to scoop up the creamy layers and enjoy every bit.
- Outdoor Setting: Present these floats on a picnic table surrounded by tropical decorations for an outdoor feast.
As an Evening Treat
- Layered Presentation: Create layers with different colors of sherbet to make the drink visually stunning, perfect for evening gatherings.
- Light Up the Atmosphere: Use string lights around your serving area to create a magical setting as the sun sets.
How to Perfect Rainbow Island Float
Creating the perfect Rainbow Island Float involves attention to detail. Follow these tips to elevate your float game!
- Bold Flavors: Choose sherbet flavors that complement each other, like rainbow or tropical fruit blends, for a burst of taste.
- Chill Your Ingredients: Ensure all components, including soda and coconut milk, are well chilled before assembly for maximum refreshment.
- Gentle Pouring: When adding soda, pour slowly over the back of a spoon to maintain those beautiful layers.
- Garnish Creatively: Experiment with garnishes like fresh fruit slices or edible flowers for an attractive finish.
Best Side Dishes for Rainbow Island Float
Pairing side dishes with your Rainbow Island Float can enhance your tropical experience. Here’s a list of delicious options that complement this refreshing drink.
- Tropical Fruit Salad: A mix of fresh pineapples, mangoes, and kiwis drizzled with lime juice adds brightness.
- Coconut Rice Balls: Sweet rice balls flavored with coconut are chewy and delightful alongside your float.
- Veggie Skewers: Colorful skewers of bell peppers, cherry tomatoes, and zucchini bring crunch and freshness.
- Mini Tacos: Small tacos filled with chicken or beef add savory flavor that balances the sweetness of the float.
- Guacamole & Chips: Creamy guacamole served with crispy tortilla chips provides a tasty contrast to your drink.
- Frozen Banana Bites: Banana slices dipped in dark chocolate and frozen make for a sweet bite-sized treat.
Common Mistakes to Avoid
Avoiding common pitfalls can make your Rainbow Island Float a delightful treat. Here are some mistakes to steer clear of:
- Using warm ingredients: Starting with cold or frozen ingredients helps maintain the float’s icy texture. Always chill your glass and use frozen rainbow sherbet.
- Skipping the layering: Properly layering the ingredients creates a stunning visual effect. Pour coconut milk slowly over the sherbet for beautiful swirls.
- Overmixing: Mixing too much can ruin the layered look and texture. Gently pour in each ingredient to preserve the float’s appeal.
- Neglecting garnishes: A simple garnish, like a mini umbrella or colorful straw, enhances presentation and fun. Don’t skip this step for added flair.
- Forgetting to serve immediately: This drink is best enjoyed right away while it’s frosty and layered. Serve it fresh for the ultimate experience.
Storage & Reheating Instructions
Refrigerator Storage
- Duration: Best consumed fresh but can be stored for up to 1 day.
- Containers: Use an airtight container to keep any leftovers, although it may lose some texture.
Freezing Rainbow Island Float
- Duration: Can be frozen for up to 1 month if stored properly.
- Containers: Use freezer-safe containers, but note that it may change in texture when thawed.
Reheating Rainbow Island Float
- Oven: Not recommended, as this drink should be served cold.
- Microwave: Avoid microwaving; it will melt and lose its structure.
- Stovetop: Not suitable; this drink is meant to be enjoyed icy cold.
Frequently Asked Questions
Here are some common questions about making a perfect Rainbow Island Float.
Can I make a dairy-free version of Rainbow Island Float?
Absolutely! Use coconut cream or any non-dairy milk alternative instead of regular milk for a delicious twist.
How can I customize my Rainbow Island Float?
You can add different flavors of sherbet or use berry soda instead of lemon-lime for a unique taste profile.
Is Rainbow Island Float kid-friendly?
Yes, by skipping any alcohol components and using only non-alcoholic ingredients, it’s perfect for kids!
What is the best way to serve Rainbow Island Float?
Serve it immediately after preparation in chilled glasses for the best presentation and taste.
Final Thoughts
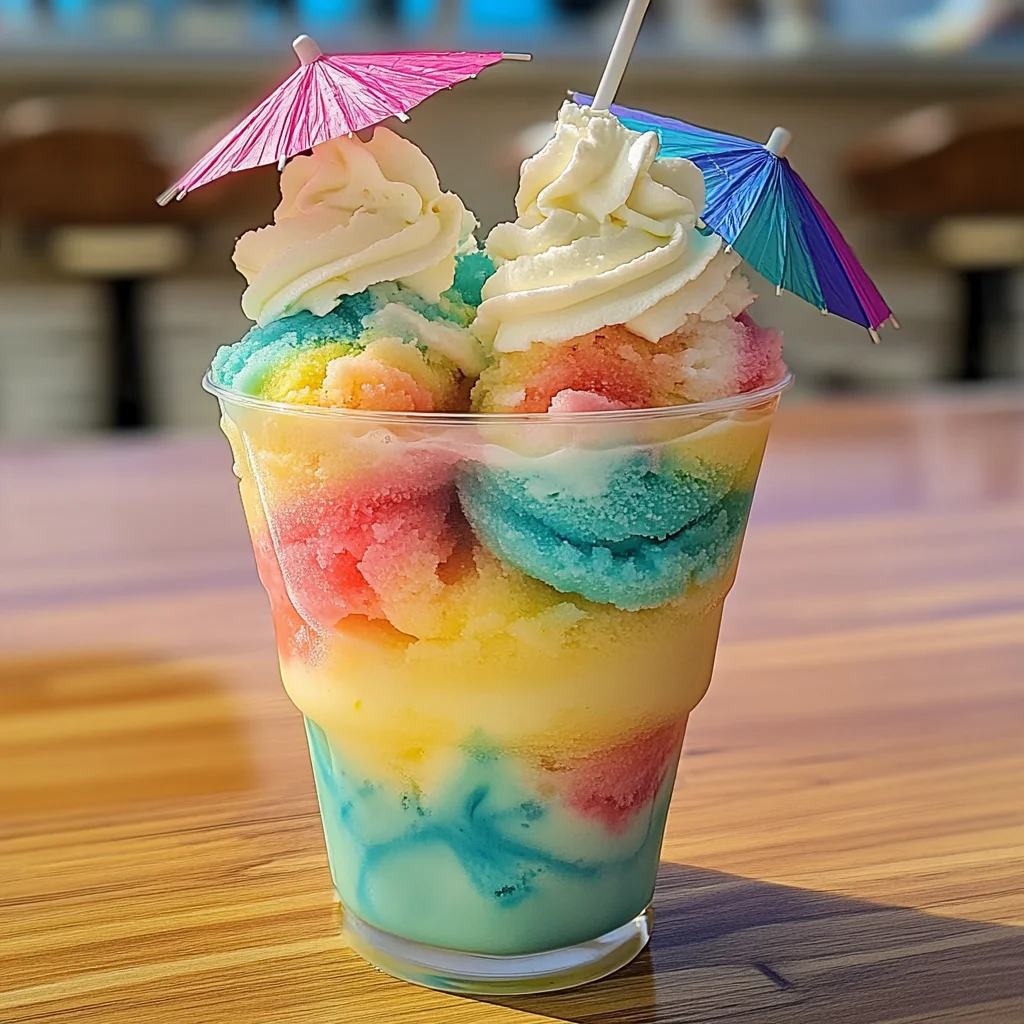
The Rainbow Island Float is not just visually stunning; it’s also versatile and fun! Perfect for parties or a refreshing treat on hot days, you can easily customize it with your favorite flavors. Give this recipe a try and enjoy the vibrant, frosty goodness!
Did You Enjoy Making This Recipe? Please rate this recipe with ⭐⭐⭐⭐⭐ or leave a comment.
📖 Recipe Card
Print
Rainbow Island Float
- Total Time: 15 minutes
- Yield: Serves 1
Description
Indulge in the vibrant flavors of the Rainbow Island Float, a delightful frozen treat that brings a burst of tropical joy to any occasion. This colorful beverage combines creamy coconut and fruity rainbow sherbet, creating a refreshing drink that’s perfect for summer parties, family gatherings, or simply treating yourself on a hot day. With its eye-catching layers and fizzy finish, this float is sure to impress both kids and adults alike. Plus, it’s easy to make with just a few ingredients and steps! Customizable for cocktails or mocktails, enjoy this fun drink with friends or set up a DIY float station for the little ones. Dive into this tropical delight today!
Ingredients
- 2–3 scoops rainbow sherbet
- ½ cup coconut milk or cream
- ½ cup lemon-lime soda (like Sprite)
- whipped cream for topping (optional)
Instructions
- Chill your tall glass in the freezer for 10-15 minutes.
- Add 2–3 scoops of rainbow sherbet into the chilled glass.
- Pour coconut milk or cream slowly over the sherbet, allowing it to swirl gently.
- If desired, add a drizzle of alcohol-free vanilla extract.
- Top with lemon-lime soda and watch it foam beautifully.
- Finish with whipped cream on top and garnish with a mini umbrella or straw.
- Serve immediately for the best experience!
- Prep Time: 15 minutes
- Cook Time: 0 minutes
- Category: Dessert
- Method: Mixing
- Cuisine: Tropical
Nutrition
- Serving Size: 1 float (250g)
- Calories: 240
- Sugar: 35g
- Sodium: 60mg
- Fat: 9g
- Saturated Fat: 7g
- Unsaturated Fat: 2g
- Trans Fat: 0g
- Carbohydrates: 38g
- Fiber: 0g
- Protein: 1g
- Cholesterol: 0mg